Thursday, July 14, 2011

AndIan Models Update

Hello All,


I would firstly like to say thank you to all of you that has supported the release of our first kit by purchasing one of the LWW wagons and to those who have taken an interest in our future releases.

Our first kit, The LWW Well Wagon, had shocked both myself and co partner Andrew with its 1st run sell out after just 2 days of announcement. I am happy to say that we now have a second run of the LWW kits ready for sale. Again, we only have done a limited run of 60 kits. The price of the LWW has stayed the same as the first release at $80 per kit posted to anywhere in Australia. They can be purchased direct from us at AndIan Models andian.models@gmail.com . I also have them on EBay under the model toy trains section http://www.ebay.com.au/itm/AndIan-Models-NSWGR-LWW-Well-wagon-etched-kit-2nd-run-/180692145219?pt=AU_Toys_Hobbies_Model_Railways&hash=item2a12175443.

We have also made arrangements with both Joe at Casula Hobbies, and Warren at Gwydir Valley Models to have limited stock available through their shops. We will try and continue to have this model available by producing future runs, though these runs will only be commenced after all stock has been exhausted.

The Turret tender project has made a significant step forward. One of the biggest issues we faced with the tender is the manufacturing and/or availability of the detailing components for the tender. It was suggested at first that we would need to have new masters made. The bogies were also an issue as the very unique 2TM bogie is not available. We did however find that an American ‘Kegel’ bogie used under a K4 Pacific is identical and was available from Bachmann or Bowser as spare parts. The Bachmann bogie was passable but the width was a concern and as they were also made in delrin limiting modification.
There have been a couple early brass models imported years back both by Bergs and Classic. As we have quite a good repour with Joe we asked him if we could possibly use the castings from his Classic tender. If you are unfamiliar with the classic brass models, I can tell you that they are regarded as the ‘Rolls Royce’ of brass and are very well detailed. Joe agreed to Loan me a tender to see if the details were appropriate, of course they were, and allowed me to strip the tender of its castings so we could have them reproduced. This also means that our tender will have brass bogies (from the classic tender) and as we speak the details have been sent back to Joe, as he will be having them cast by his own caster. Big thanks to Joe. We have made some alterations to the drawing for etched body to suit the castings. Final alterations will be made after the castings are complete, then we can proceed with having the etches done.


We have also received the sample etches of our Two and Three lever lever frames. These are based on the standard NSWGR design. Along with these are some compensators, cranks, Roding chairs and pulleys. Unfortunately, there were a few cock ups with the drawing of the two lever frame. Also some of the Roding chairs and pulley wheels, once reduced from the full sized CAD drawings, are just too fine and will also need alteration. We have sent a few of these to both Ian Millard and Andrew Campbell (Bowen Creek) for their opinions. As you are probably aware Ian had produced these in his IR models range and are used on Bowen Creek. We thought it would be a good idea to have both these exceptional modellers look at these and give us their opinions as to what can be improved. The completed three lever frame and Roding details below are what is to be expected.


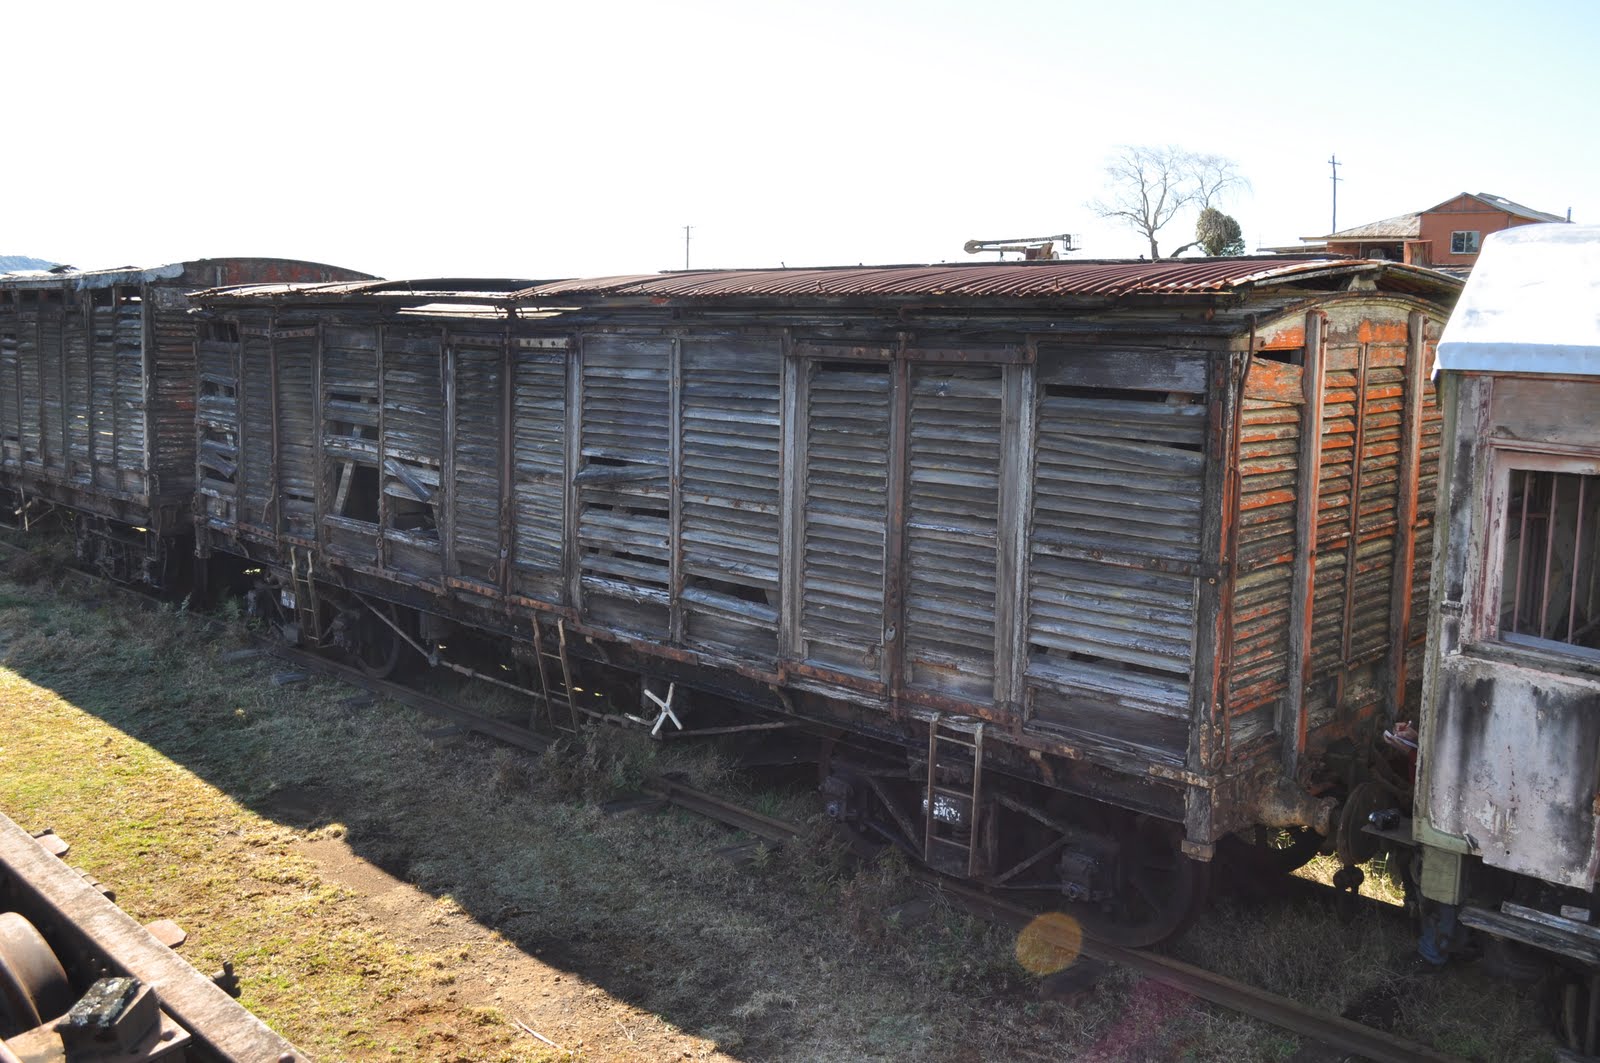
Andrew has also been playing around with another 3D printing model that will be included in our Range. The model is a BLV Louvre van. Built around the turn of the century, the wagon is 36’ long and features three opening doors along the side. The wagon sits atop a queen post steel underframe with arch bar bogies. We have had an initial sample produced, witch I have displayed on our Exhibition Layout at the last couple shows, to trial yet another prototyping manufacturer. The below photo is of BLV 15593 Preserved at the Dorrigo Steam Railway and Museum. We had a visit last weekend to double check a few measurements before the drawing can be finalised. It will then be sent to be printed. Upon return, we will have the master reproduce in urethane and made available to you all. Very exciting. The BLV will most likely take over the Tender and lever frame projects making this our second model available. This may also determine the fate of the SL/NZLA project as the trialling of the printing quality for the BLV is a sort of trial for the SL/NZLA.


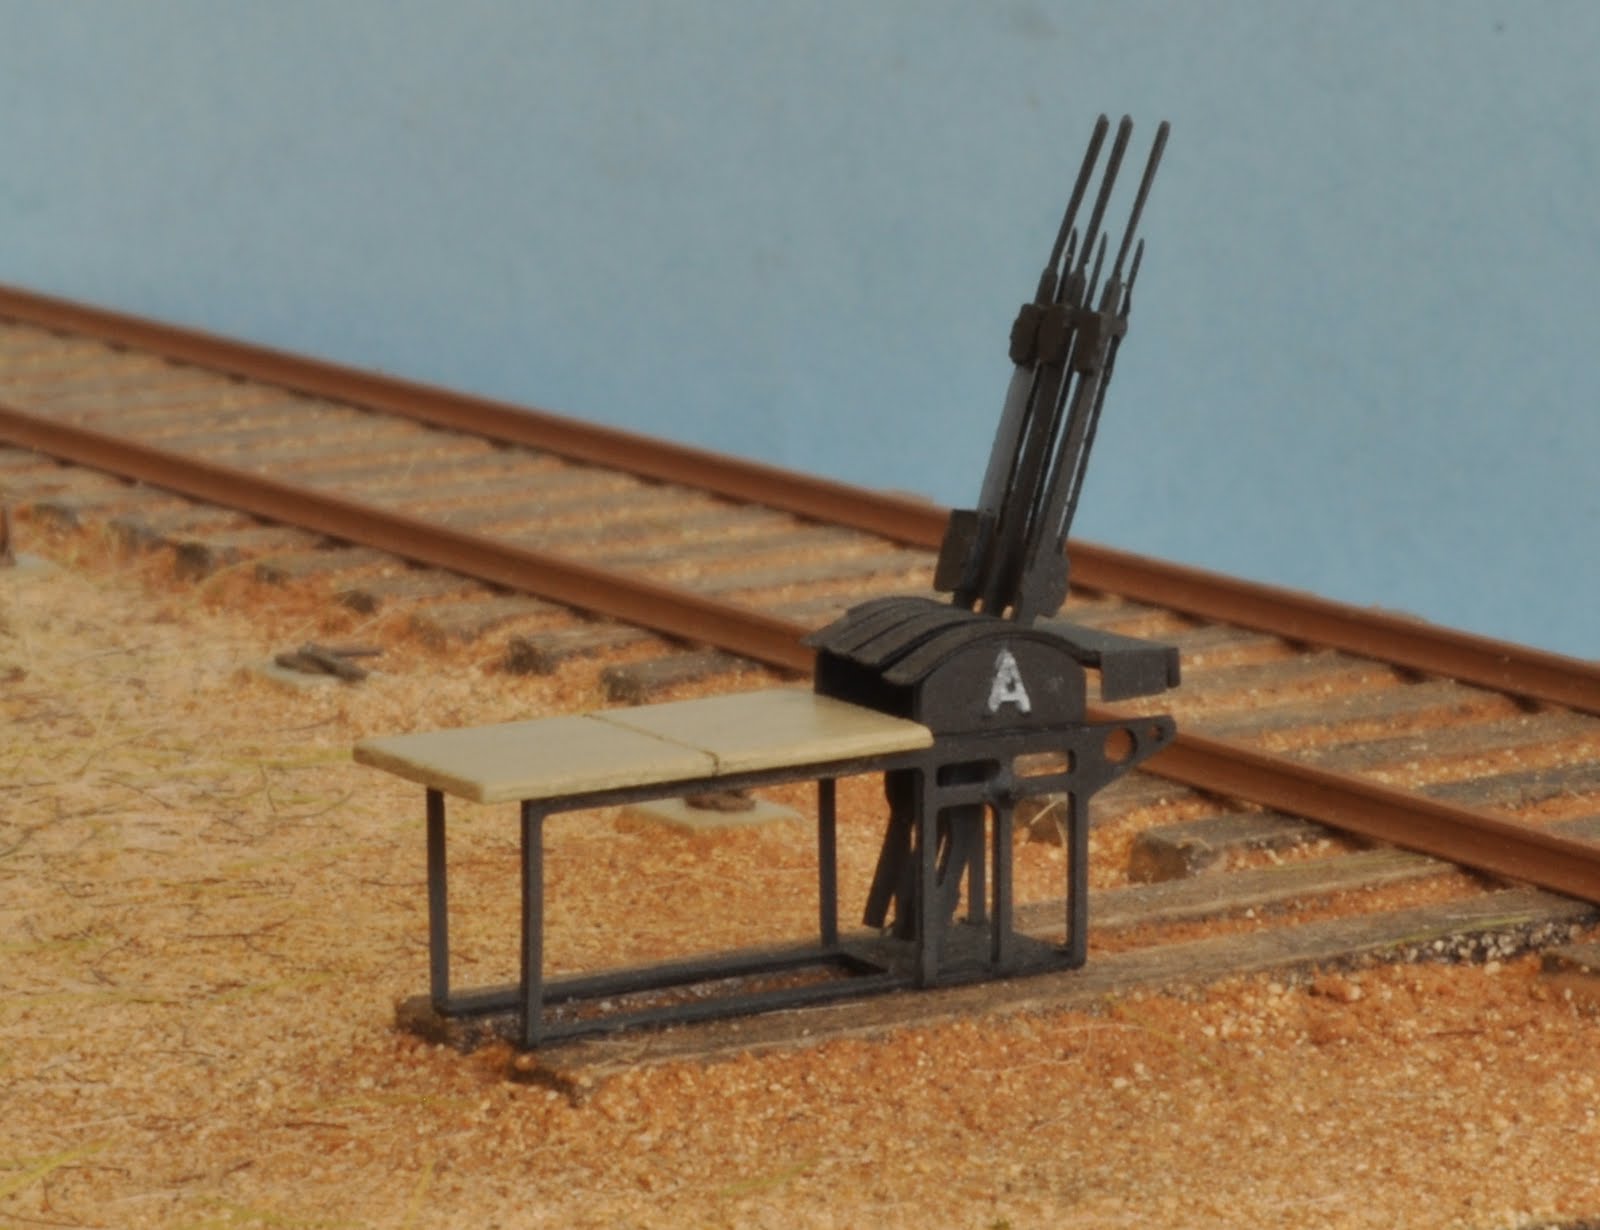
Plans are also in the pipeline for a NSWGR four wheel water Gin. We have been kindly donated a beautiful plan and several photographs of the Water gin from Phil Collins. We have also measured and photographed the Water Gin at the Dorrigo Museum. Lucky for me the Water gin at Dorrigo is the actual one used on the Merriwa branch, L391. Our initial idea is to have a detailed etched brass underframe with cast urethane tank along with etched ladder and brass detail castings. Should be very nice indeed and a must for any model railway.


Water Gin L553 from Phil Colins collection


There are a couple other dreamt about models we would like to produce. SFX and SBX passenger cars and possibly a bitumen tank wagon. All of which are quite some time away.

If you wish to be added to our growing email list for future updates please send us an email. andian.models@gmail.com


Cheers

Ian


Saturday, July 9, 2011

More changes

I’ve had the FS/BS cars sitting on the test track above my work bench since our return from the Toowoomba Exhibition and have been dissatisfied with the finish of the roofs and several other issues. The plain plastic look, even after weathering, just did not have any character. I had built an Ian Lindsay LHG some time back and had a go at replicating the malthoid roof coverings of these early cars with great success. When I first started the mods to the S cars I did not want the hassle of changing all the roofs as I knew it would be a huge job. It did get the better of me in the end. Here is what I did.


I started by removing all the roof vents. These levered out with side cutters. I stored them in a takeaway food container till required. I lightly sanded all the roofs so as when I glue the Malthoid material on it would adhere nicely. I used Lipton Tea bags for the malthoid. A Lipton tea bag can be carefully opened out to a rectangular sheet. I trimmed one of the long sides up then measured and cut two strips 11'9" wide. I then cut these into 3' wide strips. I needed a couple for the canopy ends a bit wider so cut these and set them all aside. I worked out were the end sheet would start by sitting side by side a silver roof car (with the navy dressing ends) with the grey roof car and transferred the position where the navy dressing colour finished, to the grey roof car and drew a pencil line right over the roof using a piece of styrene to keep it square. This happened to end up just a mick hair short of the centre rivet above the end door. I first lightly and evenly coated the end canopies with PVA then working from one side, and lined up with the pencil line, laid the sheet over the roof. I worked the sheet down over the end canopy with my finger allowing the sheet to double up where necessary. Now, one at a time, I glued and stuck the 3' wide strips over and along the roof lapping each sheet by a half a millimetre each time. I used the rivets on the side of the car as a guide to keep them square to the roof. Once I finished each car, I gave the roof a coat of 50/50 PVA and water to remove any fuzz from the tea bags.


I trimmed any excess overlapping the sides with a super sharp scalpel; re fitted all the roof vents, and then prepared to repaint the roofs. For the grey roof cars (I kept them all the same) I first brush painted the entire roof with Tamiya German Grey. Once this had dried I randomly selected some sheets and painted these with Floquil Weathered black. The sheets originally had a tar based sealer where the laps where. This oozed out here and there. To replicate this I used a sharpened Derwent watercolour pencil (black) quickly dipped in Windex to soften and carefully drew a few black lines over the roof were each of the laps were.

I now worked on the silver roof cars. These I painted with Tamiya Flat aluminium. Again I used the pencil trick for the oozing tar. I blended all this in with a light weathering of Engine black with the air brush. I recon they look much better now.

The gooroo (James McInerney) mentioned the lack of lining around the doors. I was not keen on doing this as I had only had a go on an old Lima 38 for a friend, and only had a Tank and Tube pen as well and was unsure of the results. I did a couple trial runs on a scrap of styrene with excellent results so I jumped right in the deep end and gave it a go. Wow......I found this quite easy. I recon it may be a little wide but they look better than having none at all.

I also decided to move the end handrails to the ends of the cars, where they should be. I started by removing all the handrails with a knife blade then transferred the holes to the ends of the corner posts. I then removed the rivet detail from above and below the old holes then filled these with putty. After a light sanding, I touched up the posts with Indian Red Paint. Once these are re weathered the modifications are hardly noticeable.

The below photo shows the Lining on the doors and the modified and painted end handrail/lamp brackets along with the finished roofs of each of the cars.


I stuffed about too and added a conductor leaning from a centre door. This turned out to be a bit of a mission as both the plastic floor and metal lighting strips needed to be removed as they were both above the correct floor level. I then had to re wire the strips together for the lighting. I cut the door out by drilling a heap of no.80 holes around the door together with a sharp knife to remove the final bits holding the door. Filed it up a bit and touched up with some Indian red paint. A few passengers were added as well. I bought 200 off EBay for $30. Some of the ‘Fat Bums’ needed weight loss surgery so as they would fit in the first class seats! I am happy with the end results.


I have also started an Ian Lindsay EHO. This should look the part trailing along behind.
I suppose next will be bogie chains and close coupling the cars!

Till then

See ya.


Ian